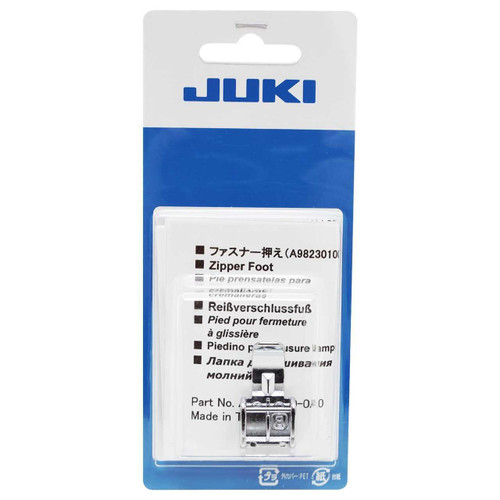
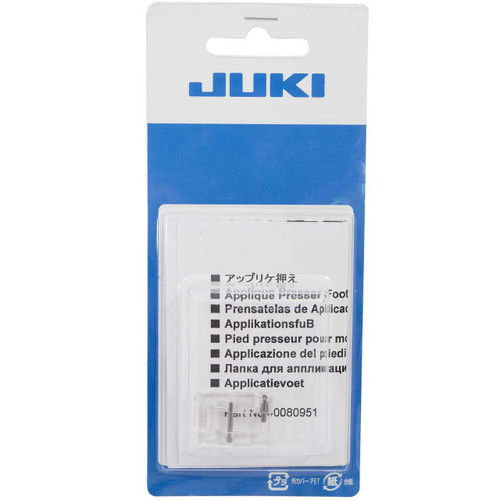
| The Bias Tape Binder snap-on foot allows for bias tape to be easily added to finish an edge. This versatile foot can also be used to create button loops, frog closures, and is a great construction tool for reversible garments. The spiral cone on this foot wraps the bias tape (pre-folded or not) neatly around the edge of the fabric. Straight stitch patterns are generally used to with this presser foot, but decorative patterns can be used to create a unique effect. - Attach the bias binder to the presser foot holder.
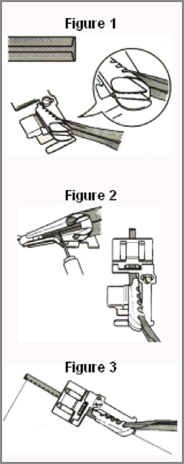
- Guide one end of the bias tape into one of the five slots on the foot, based on the width of the tape. Figure 1
- A tape width of 0.75” to 1” (22 to 25mm) should go into the largest slot on the foot.
- Pull the tape from the inside of the guide, using a sharp instrument, such as tweezers or a stiletto. Place the tape behind the presser foot. Figure 2
- Check that both sides of the tape are folded completely inside, when the tape is pulled behind the presser foot.
- Adjust the needle position so that the needle is stitching through the bias tape.
- If the needle position cannot be changed, use the screw on the foot to adjust the cone to the right or to the left, as needed. Figure 3
- Begin sewing at a slow to medium speed, gently guiding the tape to keep it properly aligned with the fabric.
TIPS: To more easily maneuver fabric into the cone, use the points of the tweezers or a stiletto and gently push the fabric into the cone. Clipping the corner of the tape at a 45 degree angle can make tape insertion, into the cone easier. Fits Juki Models - DX-2000QVP
- DX-1500QVP
- HZL-DX7
- HZL-DX5
- HZL-F600
- HZL-F400
- HZL-F300
- HZL-G120
- HZL-G220
- HZL-G210
- HZL-G110
|  |


