Machine Embroidery in 6 Easy Lessons
There's no need to be overwhelmed by machine embroidery. Eileen Roche explains machine embroidery in 6 Easy Lessons!
Machine Embroidery in 6 Easy Lessons is going to demystify the embroidery machine and tools, embroidery designs, placement, hooping, stitching and finishing. Instead of looking at the overall task as overwhelming, we'll break down each segment and simplify every step. After reading this 64-page book and working through the exercises at the end, you'll be ready for any embroidery project.
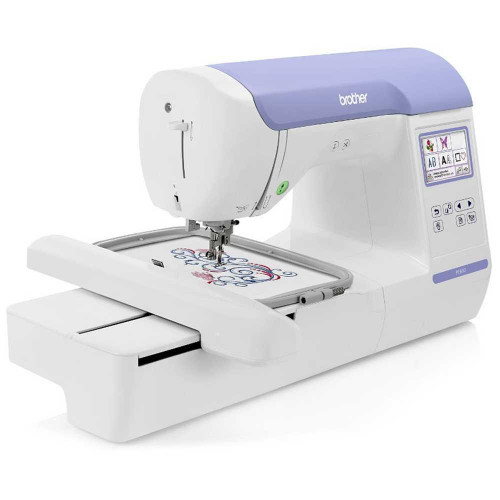
The machine section will provide an understanding of an embroidery machine's basic features and can help you decide which machine is right for you. You won't need to invest your life's savings if you know exactly what features and embroidery tools are indispensable. You'll learn the basic make-up of every embroidery design and use that knowledge to evaluate what type of designs look best on what fabrics. You'll understand underlay, satin, fill, and run stitches, and these will help you determine the proper stabilizer for a particular design on a particular fabric.
Machine Embroider in 6 Easy Lessons Includes:
Chapter 1. Beginning Basics You don't need to spend a fortune on a top-of-the-line machine; instead, look for a machine with the basic seven functions to start your machine embroidery journey.
Chapter 2. Embroidery Designs Understanding the basic elements of every embroidery design will allow you to make wise choices when selecting stabilizers and fabrics.
Chapter 3. Placement Spending time testing embroidery designs and selecting the appropriate threads and stabilizer is all for naught if the embroidery is positioned incorrectly. But don't fret—there are industry standards and handy tools to help you achieve professional placement.
Chapter 4. Hooping Your goal when hooping your fabric is to hold the fabric in one stationary location while the hoop moves to lay the stitches down on the fabric. Learn the easy way to achieve this goal.
Chapter 5. Stitching Now that you've marked the placement of the design on the fabric, added stabilizer, and selected a method of hooping, it's time to stitch! Learn some simple steps fine-tuning steps to insure beautiful embroidery.
Chapter 6. Finishing Now that the design is complete, remove the hoop from the machine, but don't take it out of the hoop just yet. Learn why!
Bonus! The book also includes 4 Helpful Embroidery Tools to make embroidery placement and easy!
- The Angle Finder: Find design rotation measurement quickly and easily. This ensures you'll never have crooked embroidery again!
- Centering Ruler: Measure designs and distances between designs easily.
- Target Ruler: Locate the center of any area in the hoop!
- Target Stickers: The professional method for planning embroidery layout on a project. Plus there's no risk of permanent ink stains on your project with pens!
Appendix
- Embroiderer's 12-Point Checklist
- 10 Favorite Time-Saving Habits
- Choosing the Right Hoop
- Exercises
- Resources Top of Form
1 Review
-
Looks like it will be helpful
Having trouble finding the different stablizers the book calls for.


